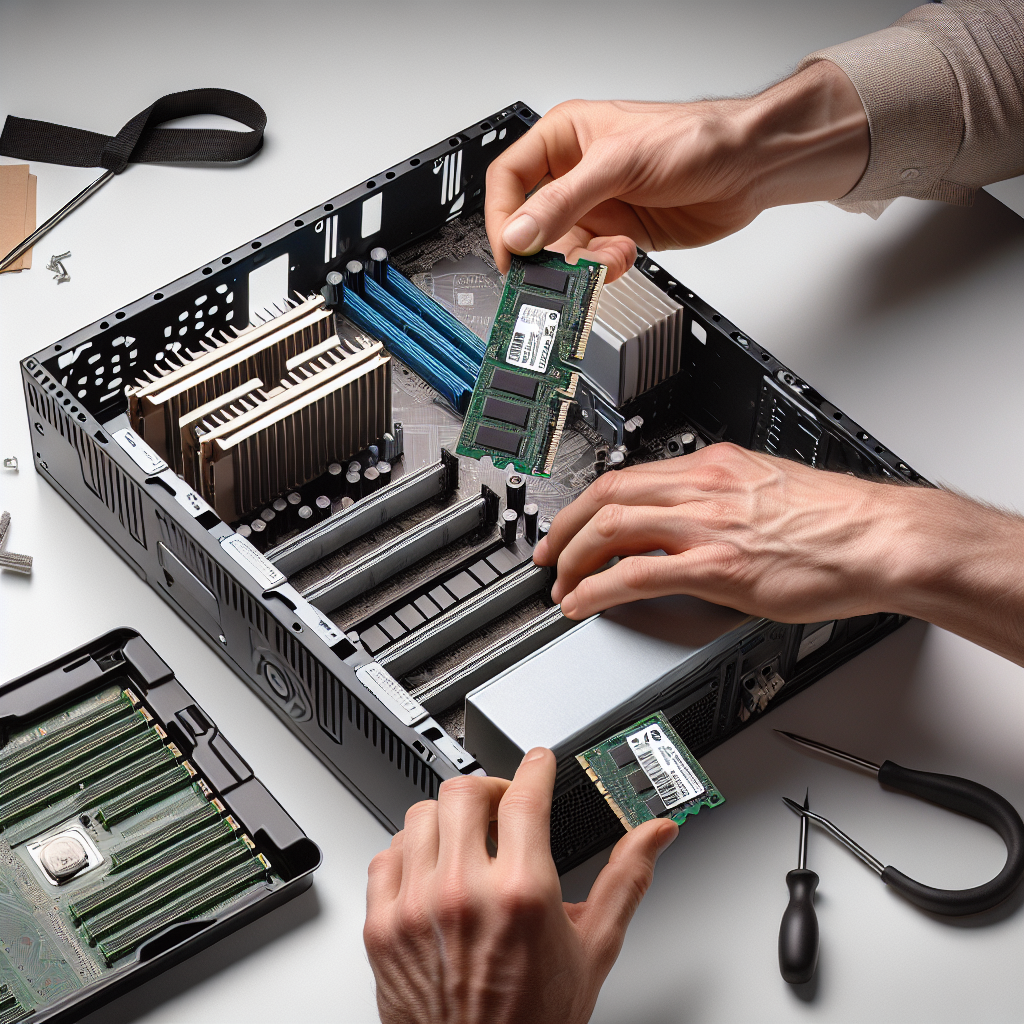
Installing RAM in a custom PC is a crucial task that can significantly improve your computer’s performance. Properly installing RAM involves careful handling and precise steps to avoid damaging your components. In this guide, we’ll walk you through the process, including how to choose compatible RAM, prepare your PC for installation, and finally, how to install the RAM correctly.
Selecting Compatible RAM
Before you begin the installation, it’s essential to choose RAM that is compatible with your motherboard and processor. Here is a checklist to ensure compatibility:
- Check the motherboard’s manual: It will list the types and speeds of RAM that are compatible.
- Match the RAM type: Most modern PCs use DDR4, but some older models use DDR3 or DDR2. Ensure you choose the correct type.
- Consider the speed: RAM speed is measured in MHz. Check what speeds your motherboard supports.
- Capacity and Configuration: Determine how much RAM you need and whether your motherboard supports dual, triple, or quad-channel configurations.
Compatibility Table Example
| RAM Type | Pin Count | Voltage | Speeds (MHz) |
|---|---|---|---|
| DDR2 | 240 | 1.8V | 400-800 |
| DDR3 | 240 | 1.5V | 800-2133 |
| DDR4 | 288 | 1.2V | 1600-3200+ |
Preparing Your PC
Before you install the RAM, you need to prepare your PC to ensure the process goes smoothly and safely:
- Power down your PC: Turn off your computer completely and unplug it from the power source.
- Discharge static electricity: Ground yourself by touching a metal object or using an anti-static wrist strap to prevent electrostatic discharge (ESD).
- Open the case: Remove the screws or press the release buttons on your case to access the motherboard.
Installation Process
Now that your PC is prepared and you have the right RAM, follow these steps to install it:
Step-by-Step Instructions
- Locate the RAM slots: Identify the RAM slots on your motherboard. They are usually close to the CPU socket.
- Orient the RAM correctly: Each RAM stick has a notch that matches a corresponding bump in the RAM slot. This ensures it can only be inserted one way.
- Insert the RAM: Carefully line up the RAM stick with the slot and press down firmly but gently until you hear a click. The retention clips on the sides should snap into place.
- Check stability: Ensure the RAM is securely installed and seated properly.
- Replace the case: Once the RAM is installed, close your PC case and secure it with the screws or locks.
- Reconnect and boot: Plug your PC back in, power it on, and check if it recognizes the new RAM. You can do this by entering the BIOS/UEFI, or checking the operating system’s system information.
Troubleshooting Common Issues
If your PC doesn’t recognize the new RAM or you encounter issues, consider these troubleshooting tips:
- Ensure the RAM is fully seated: Make sure the RAM sticks are firmly inserted and the retention clips are locked in place.
- Check placement: Verify that the RAM is installed in the correct slots as per your motherboard’s dual/triple/quad-channel guidelines.
- Test each RAM stick: Try using one RAM stick at a time to identify if one might be faulty. You can also try different slots to ensure the slots are working correctly.
- Update BIOS/UEFI: Sometimes updating your motherboard’s BIOS/UEFI can resolve compatibility issues.
Conclusion
Properly installing RAM in your custom PC can provide a noticeable boost to your system’s performance. By following the steps outlined in this guide, you can ensure your RAM is installed correctly, securely, and optimally. Always refer to your motherboard’s manual for specific instructions and compatibility lists to avoid any issues during the installation process. Happy upgrading!

