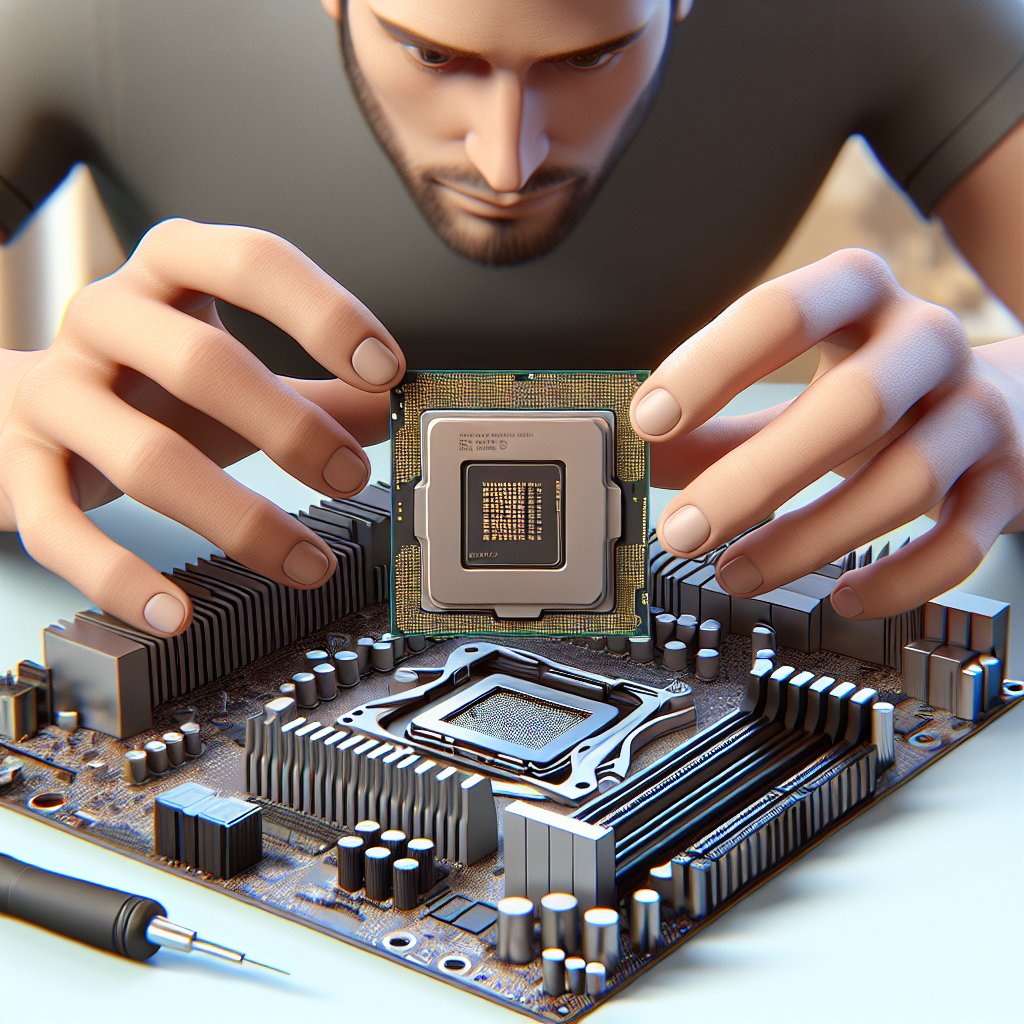
Installing a CPU (Central Processing Unit) on a motherboard can appear daunting, but with the right tools and knowledge, it is a straightforward process. This guide will take you through each step, ensuring that you correctly and safely install your CPU.
Tools and Materials Needed
- CPU
- Motherboard
- Thermal paste
- CPU cooler
- Isopropyl alcohol and a lint-free cloth
- Phillips screwdriver
Step-by-Step Installation Guide
Step 1: Prepare Your Workspace
Begin by ensuring your workspace is clean and static-free. Touch a grounded metal object to discharge any static electricity from your body.
Step 2: Check Compatibility
Verify that your CPU is compatible with your motherboard. The motherboard’s chipset and socket type must match the specifications of the CPU.
Step 3: Open the CPU Socket
Locate the CPU socket on your motherboard. Unlock the socket by lifting the retention lever or pressing the lock mechanism, depending on your motherboard’s design.
Step 4: Align the CPU
Align the CPU with the socket. Most CPUs will have a triangle or a marking that corresponds to a similar mark on the socket. This ensures that the CPU is correctly oriented.
Step 5: Insert the CPU
Gently place the CPU into the socket without forcing it. The pins should go in smoothly. Once it is seated, lower the retention lever to secure the CPU in place.
Step 6: Apply Thermal Paste
Apply a small amount of thermal paste to the center of the CPU. This paste helps conduct heat from the CPU to the cooler.
Step 7: Attach the CPU Cooler
Install the CPU cooler according to the manufacturer’s instructions. This often involves pressing it down onto the CPU and securing it with clips or screws. Ensure it is firmly in place.
Step 8: Connect the CPU Fan
Connect the CPU fan’s power cable to the CPU fan header on the motherboard. This ensures the CPU receives adequate cooling during operation.
Step 9: Final Checks and Power On
Double-check all connections. Make sure the CPU and cooler are securely attached. Power on your system to confirm everything is working correctly. If the system does not power on, recheck all steps.
Troubleshooting Tips
- System Does Not Boot: Double-check that all power cables are connected, the CPU is seated properly, and the RAM is properly installed.
- CPU Overheating: Ensure that the thermal paste is correctly applied and the cooler is firmly attached.
- BIOS/UEFI Issues: Sometimes, a BIOS/UEFI update is necessary for the motherboard to recognize a new CPU. Check the manufacturer’s website for updates.
Conclusion
Installing a CPU on a motherboard can be done successfully by following these steps. Ensuring compatibility, correctly aligning the CPU, and properly applying thermal paste are key to a functional installation. Keep this guide handy for a stress-free installation experience.

